Modern Family Photo: Third Time’s a Charm

We’ve been thinking on ways to slowly replace the mass-produced art in our home with more personal items lately.  In my opinion, one of the easiest ways to do that and to bring history into a home is with family photos.

I’d been trying to decide how we could update and modernize the traditional family photo when I came across two great ideas on Pinterest.  Both were ways (I thought) that I could print a photo at home and turn it into a photo canvas using supplies I had on hand.

The first project, which I mentioned wanting to try here, involved printing a photo on tissue paper and using Mod Podge to adhere it to the canvas.

(via Sarah’s Projects

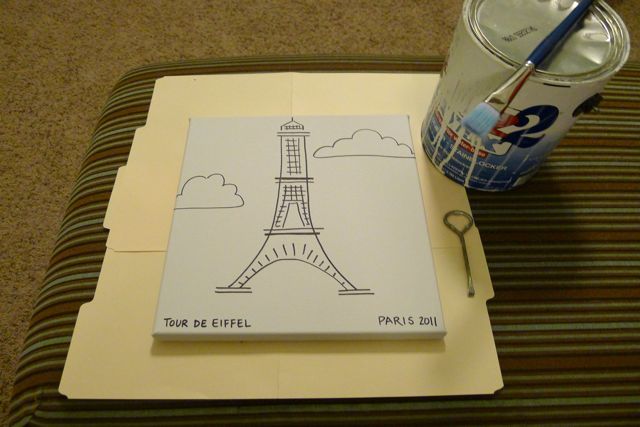
I started with an old canvas I’d doodled on and prepped it by priming over my cheesy Eiffel Tower sketch.

Start Canvas

Painting Canvas

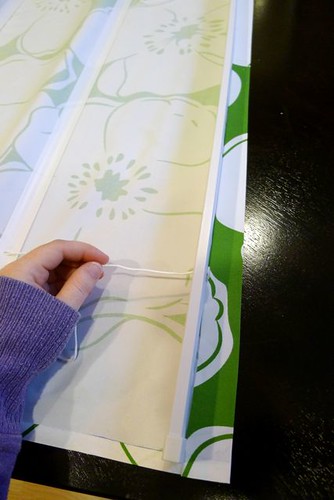
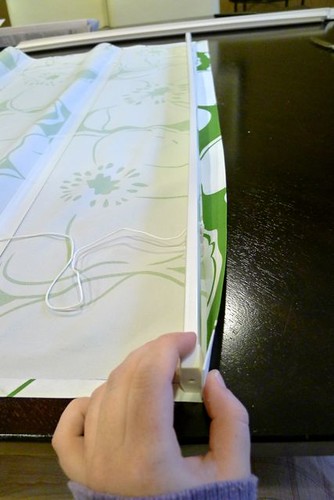
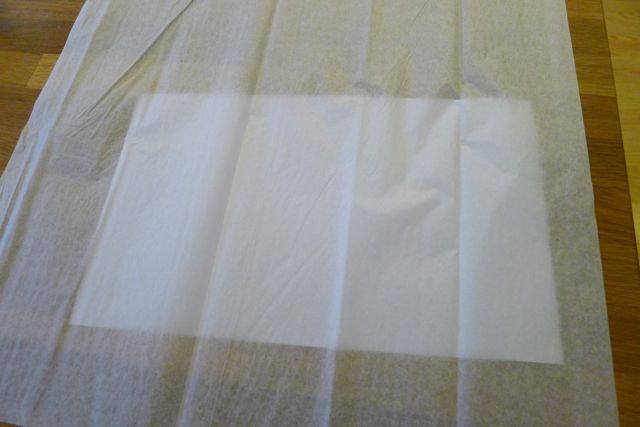
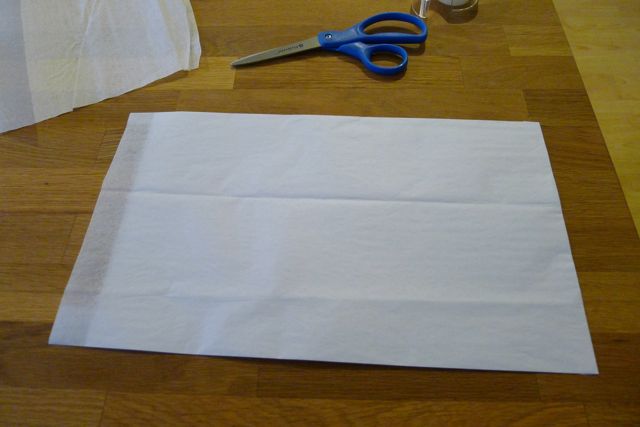
Then, I taped a piece of white tissue paper tightly around a piece of printer paper and fed it through my printer.

Printer Paper Covering

Tissue Paper to Print

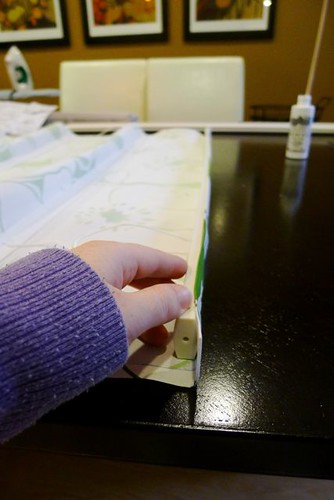
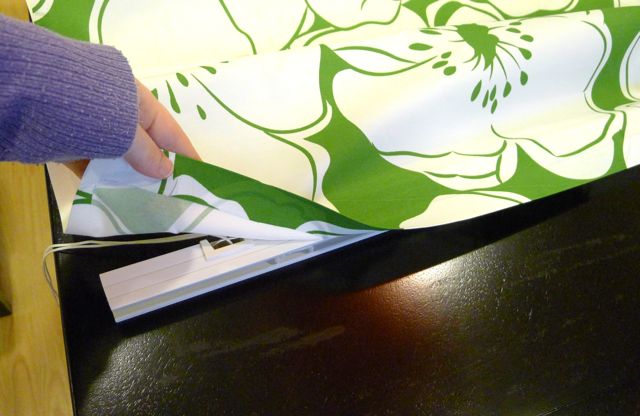
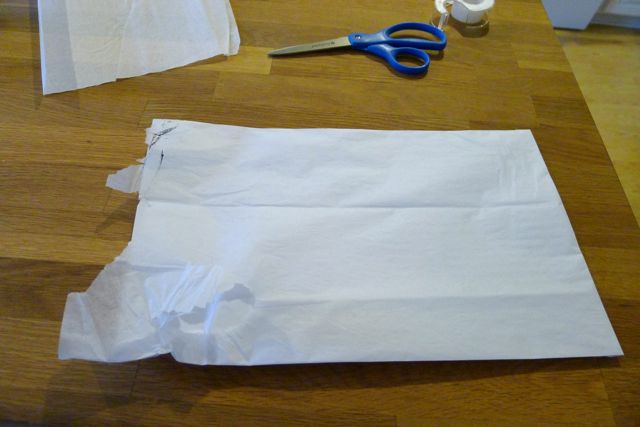
Unfortunately, our printer was a bit to enthusiastic about grabbing sheets of paper for this method.  I tried printing on this tissue paper several times in all different directions before deciding this wasn’t going to work for me.

Tissue Paper Fail

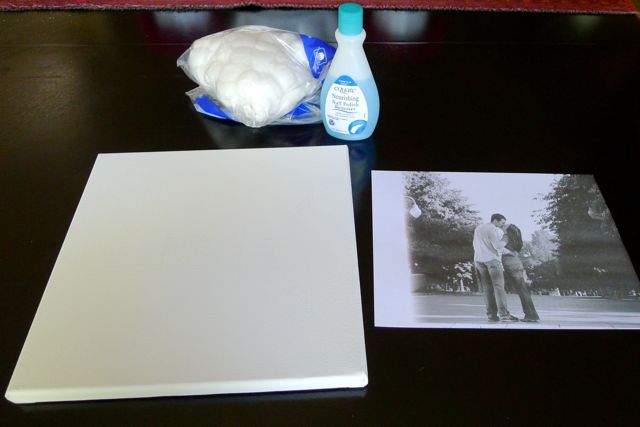
The second idea I found was to print the photo on regular printer paper and use acetone to transfer it onto the canvas.

(via Muse of the Morning

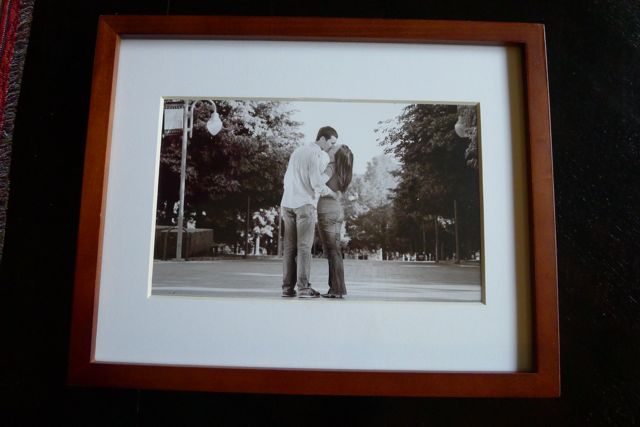
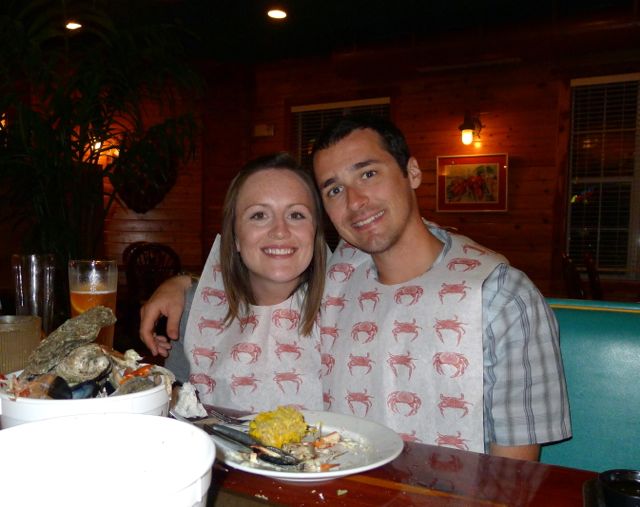
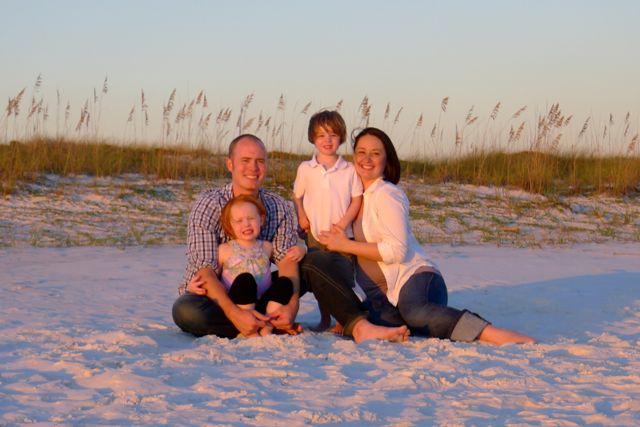
I selected this engagement photo for our canvas art because it’s a bit more interesting than just two people smiling at the camera.  I was breaking the rules a little bit by using nail polish remover instead of straight acetone (though acetone was the number one ingredient in my remover) and by opting to transfer the photo to canvas rather than paper, but I thought it just might work.

Acetone Photo Transfer

I followed the instructions carefully and even repeated the process several times, pressing harder each time, when the first pass with the acetone didn’t transfer the image.

Wiping with Cotton Ball

Saturated Photo

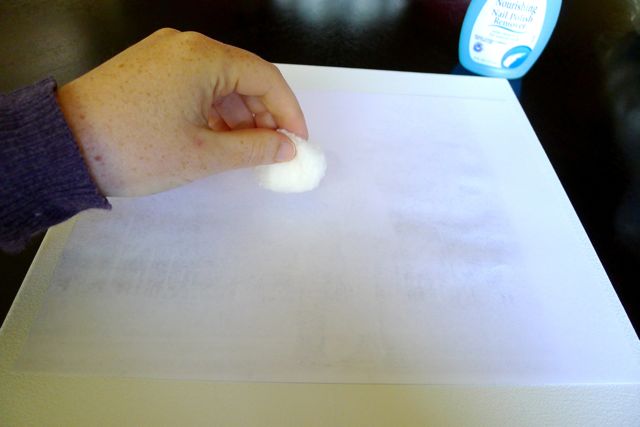
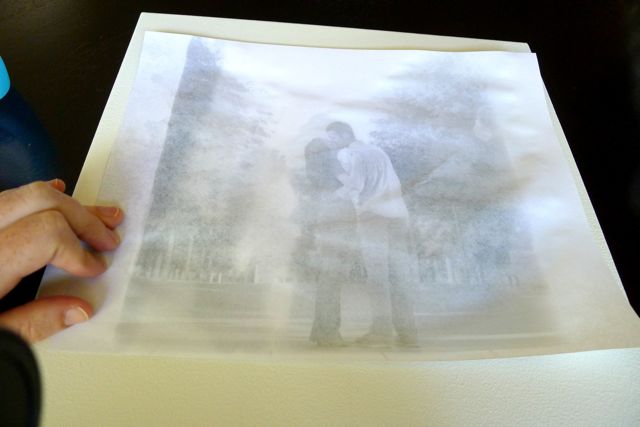
After probably three coats and a thorough soaking, the image had barely even made a mark on the canvas.

Acetone Transfer Fail

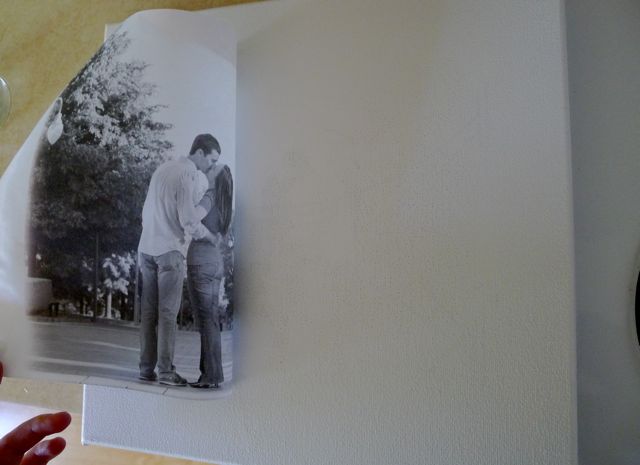
Frustrated and ready to get that photo on the wall, I decided to just print the thing on photo paper and frame it up.

Printed Photo

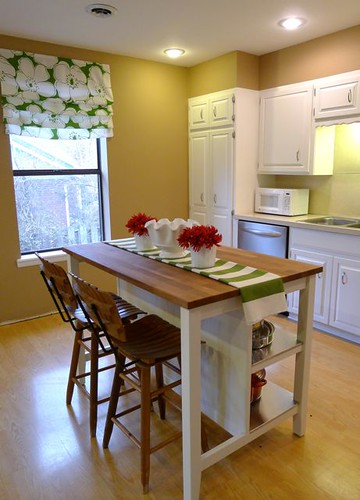
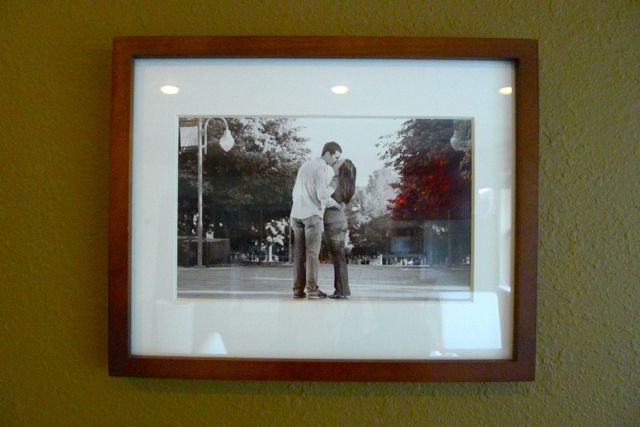
You’ll probably recognize that frame from this project a couple weeks ago.  One happy accident that resulted when I stuck the photo in this frame was that it we lost a lot of the upper portion of the photo.  I wasn’t sure I’d like the effect, but I think the long landscape crop works perfectly with this picture.  It brings all the focus right to that kiss!

Framed Photo

This frame has already replaced a cheapie print in our dining room, but you’ll have to wait a few more days for the zoomed-out photo of this wall.  More updates will be happening in this room soon!

Framed Photo on Wall

In other news, I’m still looking for a way to create photo canvases at home without ruining my printer. 🙂 Anybody have successes with either of the methods I tried above? Do you have any photo canvas tricks of your own?  We’d love to hear!

Posted in art, Crafts, dining room | Tagged , , , | Comments Off on Modern Family Photo: Third Time’s a Charm

Adventures in Florida

We filled up our camera’s memory card more than once on our trip last week, so prepare yourself for a photo-journey of our adventures in Florida!  I heard a radio program once that said we remember vacations best when we fill them with activities and events rather than saying “I sat on the beach for a week.”  In an effort to make this trip as memorable as possible, we planned lots of activities (especially with the kids).

In a nutshell, here’s what we did:

Stephen and I spent the first day shopping, hanging at the beach, and picking up shrimp for the feast my MIL cooked up that night.

Foggy Heards

The next day we headed down to Seaside with Stephen’s sister and family to check out the line of Airstream trailers that served food right on the sidewalk.

Airstreams in Seaside

Airstreams

It was a gorgeous day and we thoroughly enjoyed our Grilled Cheeses from The Melt Down and sweet treats from Frost Bites (the cutest little trailer on the strip).

Grilled Cheese

Frost Bites Trailer

Of course we Heards were eyeing the Airstreams and dreaming of what we’ll do one day when we own one.

S with Airstream

The food was delicious and our little niece enjoyed her first Coke from a glass bottle (with real sugar!).  Doesn’t she look like an old-timey Coke ad from the 50s?

A Family Seaside

Coke Photo

We checked out the cute little post office and then headed out of town, admiring all the gorgeous homes on the way.

Seaside Post Office

Yellow House

Green House

Blue House

That evening Stephen snapped a few adorable photos of his cousins and their kids on the beach. Aren’t they a beautiful family?

Christie's Fam

B Family Walking

The next day, the guys rented kayaks and explored the ocean a bit while Stephen’s sis and I snuck off for some girl time.

Just off the Water

When we got back, we took the kids to the Circus, which was in Destin for a couple of days while we were there.

M and S at Circus

Acrobats

Our nephew and niece got to ride the ponies during the intermission.

Pony RIde N

Pony Ride G

I think all four of the kids were wowed by the tigers, acrobats, clowns, elephants, and of course the human cannonball!

Elephants

The Cannon

It had already been a trip filled with firsts for those kids – first plane ride, first circus, first swim in the ocean – but we weren’t done yet!

The next day was the only stormy day of the trip.  We all woke up early and watched the storm rolling in.

Watching the storm

Storm Watching

G Smiling A Kids

The storm washed up all kinds of sea junk and shells that afternoon.  Stephen, his mom and I practically walked to Destin and back along the beach, picking up little treasures to share at the house.

That night, we went to dinner at Bayou Bill’s Crab House.

The Girls

The Boys

This restaurant is a tradition in Stephen’s family and the steamed bucket of seafood is the dish of choice.

Eating Seafood

We made a mess and had lots of fun checking out the huge alligator on our way out.

Bibs on M and S

The Alligator

I wanted to get in on the Ocean Kayaking action the next morning, so we rented two of them and took the kids out into the calm deep waters.  The water was so clear we could see jellyfish, all kinds of big fishes, and even dolphins – up close and personal.

Setting out to Sea

Kayak

It must have been the storm from the day before because all kinds of sea creatures were out that day.  In the afternoon, we kept spotting blue crabs all over in the shallow waters. Several of us decided to see how many we could catch to cook that night.  I think we ended up with 50 or more blue crabs!

Caught Crabs

They claimed I caught the biggest one.  Here I am with my catch. 🙂

M's Catch

The boys cleaned the crabs and my MIL boiled them in some Old Bay seasoning for about 15 minutes.  They were delicious!

Cooked Crabs

The storms were definitely gone for good that day and we enjoyed a beautiful sunset out on the deck.

Sunset

The last day there, Stephen and I took a drive down the beach to Daniel’s Shell Shop.  It took about 30 minutes to get there from our house, but it was worth the drive.  The shop was solely devoted to ocean finds and we found some beautiful shells to take home with us.

Shell Shopping

The kids had fun in the pool that last afternoon…

C Swimming

While the parents watched the dolphins play in the deep waters.

Watching Dolphins

C and P

That night we gave our camera another workout when Stephen took photos of our immediate family at Grayton Beach.

Walking to photos

My sister-in-law and her family…

A Fam Smiling

Stephen’s mom and her two kids…

A and Kids

The kids and their spouses…

Young Adults

And the adorable grandbabies!

Kids hugging

We even had our photo taken before the sun went down.

M and S

Sunset

We took so many great photos on this trip that it was hard to choose which ones to share. I suppose if summer has to be over, this was a great way to go. 🙂  I’m excited to share tackle a couple projects with the things we brought home, so stay tuned for that AND some non-beach related fun later in the week!

Did any of our photos jog some memories of your own family vacations?  Anybody have fun stories from the beach to share?  Do tell!

Posted in Travel | Tagged , , , , | Comments Off on Adventures in Florida

Beach House Tour

We’re back in Arkansas with lots to share from our trip to Florida last week.  Last Saturday when we arrived at our rental home, I instantly knew you all would probably love to get a little tour of the place.  Let me tell you, it was gorgeous!  Way bigger than anything Stephen and I could have rented on our own, but since we had 14 people on this trip it was perfect!  If you ever have a chance to get away with a big group of friends or family members, I’d highly recommend going in on a rent house versus staying in separate hotel rooms or condos.

If lots of tile and columns and palatial living spaces are your thing, you’ll probably find lots of inspiration on this tour – so take a look!

I totally surprised when we arrived at how enormous this house looked from the street. Three stories tall, a three car garage with living space above, and a courtyard big enough for all of our rental cars.

Front House

The view from the beach was just as stunning.  That’s the first floor screened-in porch, second floor balcony off the master suite, and third floor balcony.  The steps we used to get to the beach were on the left and the steps on the right led to the guest house and other condos across the street.  On the right of the first floor porch was the little pool.

Back House

The first thing you saw when you walked in the front door was lots of travertine tile on the floors, columns and arches, and a gorgeous staircase leading up on the right.  Walking towards the back of the house, you’d see the kitchen (that bar was perfect for kids’ lunches and hanging out after dinner).

Salt_Air_Door_Way Salt_Air_Kitchen

At the back of the first floor was the living room on the left…

Living

.. and the dining room on the right.

Dining

But we were so distracted by this view that we all headed straight out to the patio to get a better look!

Deck

These two photos give you a better idea of the size of that patio and the pool beyond.  I think I got in that pool once, but all the kids loved it.

Salt_Air_Living_Room_Deck Salt_Air_Pool

Also on the first floor was a full bathroom with a clawfoot tub.

1st Floor Bath

Tub

And a cozy den, perfect for watching movies or entertaining kids on rainy days (we only had one).

Den

Also not pictured was a small bedroom with bunkbeds and an attached bath.  Nobody stayed in that room while we were there, but the kids sure did have fun climbing up and down those bunkbeds!

Heading upstairs, this was the first bedroom.

Guest Room

And this was the second – our room!

Our Room

Our bath was perfectly functional for a week-long stay.

Our Bath

The last room on the second floor was the master suite.  This room was enormous and spanned the entire back of the house.

Master with View

There were beautiful built-ins and views from every room.

Master Wardrobe Master Bath

More closet space than I’d know what to do with!

Master Closet

I don’t know how Stephen’s mom ever left her little oasis of a master suite.

Master

The third floor was equipped with a pool table and kitchenette.

3rd Floor Games

A small living area led out to the 3rd floor deck.

3rd Floor

Talk about being on top of the world!

View from 3rd

View of Beach

This place was so big that there was an entire living area I never even visited.  Stephen’s aunt, her daughter, and her two grandkids all stayed in the guest quarters above the garage.  It was perfect for them to be able to get away at night but join the rest of the family for meals and fun during the day.

Salt_Air_Exterior Salt_Air_Guest_House_Living-1

We had an amazing time at this house.  It was wonderful to get to spend so much time with family at night and just as great to be able to head out on our own and explore the area during the day.

So what do you think of our rental “palace”?  Could you see yourself living in a home like this?  Thanks for reading and stay tuned for more Florida adventures!

(Large photos: mine, small photos: via Ocean Reef Resorts)

Posted in Home Decor, Travel | Comments Off on Beach House Tour

Friday Five

We’re back for another round of the Friday Five – taking time to appreciate and applaud our favorite DIY finds of the week!

1. New-to-me blog MATCH, an interiors blog written by a husband and wife duo in San Francisco.  You’ve got to check this one out, even if it’s just for the before and afters.  My favorite one has to be their little boys’ room makeover.  Found via desire to inspire.

2. Kara Paslay reminds us that projects don’t have to be complicated to be high impact.  She made this sunburst-style mirror in about 2 minutes (plus drying time) on her lunch hour!  Isn’t it beautiful?

3. My buddy Kim at NewlyWoodwards shared a cute print she has in her new kitchen.  It’s a free printable from eighteen25 and comes in all kinds of fun colors.  I love this expression!

4. If there is one lady we can always count on to completely KILL with her seasonal mantle decor, it’s Michelle from Sweet Something Design.  Her fall mantle this year is stunning, and the rest of her living room is so completely cozy and ready for fall.

Do yourself a favor: Click over to Sweet Something Design and search for the word mantle.  You won’t regret it!


5.  Finally, Steph at BirdHouse shared this rug she painted for her craft room using an inexpensive white Ikea rug and leftover wall paint.  Doesn’t it look like it cost more than $40?

I hope you enjoy checking out all these projects, and have a lovely weekend everybody!

Posted in Friday Five | Comments Off on Friday Five

Family Beach Trip Sneak Peek

Did anybody guess that the end of summer project I mentioned yesterday was a trip to the beach?  We’ve been in Florida all week, enjoying the sun and warmer temps before the reality of fall and winter sets in back home.  Of course I’m a bit behind on emails and comments, but I’ll be doing my best to catch up soon!

My mother-in-law Adele coordinated our family trip and found this amazing home on the water in Santa Rosa Beach, FL (just outside Destin) with plenty of room for the 14 (FOURTEEN!) aunts, uncles, sisters, brothers, cousins, and kiddos to enjoy.

Front House

Back House

We’ll be back in Arkansas in no time with lots of fun memories and photos, but for now, here are just a few of our favorites.

Foggy Heards

Christie's Fam

Marissa's Fam

Seaside Bike

Airstream Lunch

Sunset Beach

Don’t forget tomorrow is the Friday Five!  Come back to see everything I found to share with you this week – and thanks for reading. 🙂

Posted in Seasonal, Travel | Tagged , , | Comments Off on Family Beach Trip Sneak Peek

End of Summer Project

Hey y’all!  Check back tomorrow for a sneak peek of a little “project” we’re working on with Stephen’s side of the family.  🙂

Family Christmas 2010

{Photo taken last Thanksgiving at the in-laws’}

Posted in For Fun, Travel | Comments Off on End of Summer Project

Wrapping up Our Summer

Now that it’s officially fall, I decided it was time to share all the snippets of summer that didn’t make it onto the blog in the past few months.  Enjoy the photo dump (and excuse the iPhone photos!).

In June, we celebrated our nephew’s 3rd birthday with a pool party at Stephen’s parents’ place.  I was sure to snap a photo of the gorgeous landscaping Stephen’s dad Joe planted himself.  I think we need him to come help us with our yard next!

Pool Party 2 Heard Landscaping

Here’s the birthday boy himself!

3rd Bday

Wouldn’t you love to spend every afternoon out here?

Pool Party1

All summer long, we fought allergies and staph infections with our yellow lab Molly.  On the advice of our vet, we switched her dog food, stopped feeding her treats, got rid of any flavored bones or toys, and have been giving her lots of baths.  I think we finally have things under control.  Poor girl!

Anybody out there have a puppy with allergies too?

Molly Dog

Over the past few months, we picked up a couple pieces of furniture for Stephen’s office. The chair he’s so handsomely modeling is a Herman Miller Aeron chair in practically perfect condition.  We found it on Craigslist for $75, which is a steal compared its retail value.  The little round end table was a $30 flea market find and is a makeover waiting to happen!

Desk Chair End Table

We’ve passed on a few gorgeous pieces of furniture as well.  Here’s a mid-century desk in amazing condition that we totally would have snatched up for his office if it wasn’t $600.

Mid Mod Desk

Switching gears to work for a minute, a few weeks ago I received a referral to list some land in Winslow, AR – about 30 miles from my office.  I definitely felt like I was heading into the boonies as I got closer to the property.  There were cows everywhere I looked – I even saw a spontaneous bull fight break out in the middle of the road!

Winslow Cow

The drive was totally worth the view though.  83 acres of rolling fields, perfect for livestock, and views for miles!  Gorgeous, right?

Winslow View

Ok, back to the fun part.  At the beginning of August, we went to a gorgeous wedding of longtime friends of ours.  The festivities were held in a beautiful barn in downtown Fayetteville.  We had an amazing time and were so happy to share their special day.

Wedding Ryan and Jenn

Six years ago, Stephen was in a band with the groom and two guys in the photo below. Over time, a couple of them moved away and they all moved on to other music projects. There’s nothing like a wedding to bring people together, and it was great to see them all together again!

Artificial Son

Now that it’s officially fall, it makes me just a bit nostalgic for the long hot days of summer and getting to see old friends.  What part of your summer will you miss the most?

Posted in Furniture, Party, Seasonal | Comments Off on Wrapping up Our Summer

Inspiration Organization: Guest Post by Alana of Bella Organized Interiors

Happy Monday everybody!  We have a very special guest on the blog today.  Organizer extraordinaire Alana.  I hope you enjoy the tips she has to share! 

Hello, Heardmont-ers!  My name is Alana and I am the woman behind the blog: Bella Organized Interiors.  First of all, I’d like to thank Meredith for having me! You are an amazingly talented woman and I’m honored to be here.  So, from the bottom of my heart… thank you! {virtual hugs!}

For as long as I can remember, I’ve had a passion for organizing and decorating.  I’ve been so blessed to be able to turn that passion into a business that allows me to help others find stylish solutions for their organizing needs.  Today, I thought I would share ways to organize your decorating inspiration and projects since I know many of you who read this blog are avid DIYers, too.

Tell me if this scenario sounds a bit familiar to you:

It’s time to roll up your sleeves and jump into your next home decor project.  Problem is, you can’t find that paint swatch you chose for the kitchen wall color or that fabric sample you pulled for the living room curtains.  The estimate you put together for hardwood flooring in your bedroom is buried somewhere under your mail pile in the entryway and you can’t remember where you put your level so you can hang the pictures for the gallery wall you’ve been dying to create.  The project hasn’t even started and you already want to pull your hair out.  So, what do you do?

INSPIRATION ORGANIZATION

Before you ever lift a sledgehammer to demo or pull out the paint brush, you probably spend countless hours pouring over books, magazines, and websites looking for inspiration to create a space that is uniquely yours.  Problem is, searching for that all-elusive inspiration can mean piles of torn pages and one or more cluttered folders on your computer’s desktop.  Avoiding the scenario above begins with how you organize that inspiration.

dens/libraries/offices - black faux bamboo chairs stainless steel desk bulletin board  Nate Berkus & Anne Coyle  Black faux bamboo chairs, stainless

{Via}

The obvious solution is the good, ol’ standby: the inspiration board, a.k.a. a bulletin board {or cork wall, in this case}.  This option is perfect for keeping up with pages torn from magazines or paint swatches nabbed at the home improvement store, but what about all of the fabulousness to be found on the internet {especially all of the chic goodness that Meredith puts out here at “Welcome to Heardmont”…}?


{Via}

I’m sure you’ve heard Meredith, along with many other bloggers {myself included} sing the praises of Pinterest.  It really is an amazing way to organize all of the wonderful inspiration to be found online.  All you have to do is create a separate virtual board for each project or room, which makes my organizing-obsessed heart skip a beat.
Both of these options are wonderful for gathering general inspiration.  But when it comes to putting the pieces together for an upcoming project, some extra organization measures must be taken to ensure that you don’t pull all of your hair out {after all, your hair is beautiful as is}.

PUTTING THE PIECES TOGETHER

So, you’ve gathered inspiration and now you’re ready to begin to make some decisions.  You’ve picked out a paint color for the walls and made your fabric selections for your furtains, furniture and throw pillows.  You’ve chosen the perfect rug and sketched out a great layout.  Make sure you don’t misplace the pieces to your decor puzzle by keeping them all in one place.

{Via}

My favorite solution is to purchase a binder and some sheet protectors.  That paint chip and those fabric swatches can be taped/stapled to a plain piece of paper and slipped right inside on of those sheet protectors.  You can take {or print out} pictures of any pieces of furniture or accessories that you wish to use in the room.  Plus, all notes, sketches, receipts and any other related paperwork can slip inside it’s own sheet protector as well {or, you may find it more handy to glue a large envelope to the inside of at least one side of the binder}.  If you’ve got several projects going on at once, simply purchase dividers and label them accordingly {ex: “living room”; “dining room”} or you can always give each room it’s own binder.

The Container Store Letter Size Portable File Box 13 1/2" x 10" x 11 3/4" h

{Via}

If binders give you flashbacks of high school {thus making you break out in a sweat}, another great option is to use files.  A portable file organizer, such as the one above which can be purchased at The Container Store, works great for keeping your decor “stuff” separate from your household and financial “stuff”.  If you have more than one project going on and you really want to keep things streamlined, you can color-code the file folders {ex: blue is “living room”, red is “dining room”} or buy one for each room.

See Jane Work Basics Art Box

{Via}

If you’re someone who prefers to stack paperwork, you’ll probably appreciate this option.  The great thing about an art box is that all you have to do is lift the lid and toss the receipt/paint chip/floor plan sketch inside.  Plus, it is just as portable as the file box.  Downside?  You may have to dig all the way to the bottom to find what you’re looking for.  But, hey, if that doesn’t bother you, then go for it.  It definitely beats having everything scattered throughout your house.

However you choose to organize your inspiration and paperwork, I know that you all are a creative bunch and your projects are going to turn out beautifully.  If you have any further questions about how to organize your decor {or anything else for that matter}, you are welcome to email me at bellaorganizedinteriors{at}gmail{dot}com.  Also, feel free to stop by my blog: Bella Organized Interiors for daily organizing inspiration.

Lots of Love,

Posted in Guest Post | Tagged , , | Comments Off on Inspiration Organization: Guest Post by Alana of Bella Organized Interiors

Operable Roman Shades: More Tips!

I’ve been a Roman-shade-making fool over the past few days.  Total Roman shade count is now up to 3 in our house, with at least 2 more to go.  What I love most about using mini blinds to create these Roman shades is that 1) it’s easy 2) it’s cheap: only $4-$5 per mini blind and 3) you can actually raise and lower the shades when you’re done!

Mini Blinds

Last week, I showed you how I made the Roman shades for Stephen’s studio with step-by-step instructions.  I’ve learned a few things since then, so today I thought I’d share some more tips with you all.

The next victim to get the mini blind treatment was our kitchen window.  I showed you how I made this faux Roman shade awhile back, and while I loved how it looked, I hated having to manually raise and lower it.

Old Roman Shade

Not to mention the fact that the shade looked pretty sketchy when it was down.  The edges were ripply and the fabric just sort of hung there with no real structure.

Old Roman down

Whenever we wanted privacy in the kitchen (at night), we’d have to grab a bar stool and unhook all these little loops of string off the hooks on either side of the window.  It was getting to be a pain.  Don’t get me wrong, the faux shade is great for windows where privacy isn’t an issue, but it wasn’t cutting the mustard in our kitchen.

Tacky ties

So I measured the window and my fabric, decided to make these Roman shades “outside mount” and got to work.

Tip 1: Use hem-tape instead of a sewing machine for the side, top and bottom hems.

I decided to redo the hems on the sides of my shade fabric before gluing on the mini blinds, and I’m so glad I did!  The hem tape creates much cleaner, sharper edges and helps the shade keep its structure as you lift and lower it.  No more ripply sewn edges for me!

Laying out fabric

Tip 2: Just go ahead and break off that little piece.

You know that piece that sticks out from the top bar of mini blinds?  The one you connect the wand to – to turn the mini blinds for light control?

Top Bar removing

Just get rid of it.  You don’t need it and it messes with the drape of the fabric off the top bar if you leave it on.

Top Bar fixed

Tip 3: I mentioned this during the original tutorial, but you should hem all 4 edges of your fabric before attaching the blinds.

Length isn’t as important as you might think (that’s what she said).  If you make your Roman shades an inch or two too long, that’s ok.  Go ahead and hem those edges so everything’s nice and neat when it’s time to glue.

Hemmed bottom

Tip 4: Glue the bottom hem to the bottom of that weighted bar.

Here are some visuals I didn’t really show in the original tutorial.  Gluing that bottom hem under the weighted bar ensures that the shade will look good from the front and the back.

Showing where to glue Demonstrating bottom glue Bottom Glued 2

Tip 5: For outside mounted shades (shades wider than the frame of the window – mounted to the wall), glue the fabric to the front of the top bar, leaving the sides un-glued and about 1″ extra overlap on the top edge.

When I installed the brackets up above my window frame, I velcroed the extra 1″ of fabric on the top of the shade to the top of the brackets for a more seamless look. (Tabs of velcro were attached where my thumb is in the photo below.)

Outside mount top gluing

Tip 6: Cut a small slit in the fabric just in front of the mechanism for your lift strings.

If you want your lift strings to hang in front of the shade, you have to create a hole and pull them through.  I went back and did this on the shades in Stephen’s studio.  It would be really rad to create a button hole in the fabric right here before attaching the shades for a super professional look!

Button hole

Tip 7: It really is true.  The heavier the fabric, the better the shade.

This was a tip that was shared on some of the tutorials I referenced when making my first Roman shade, and it’s totally true.  The shades I made for Stephen’s studio were constructed from a pretty heavy-weight, durable cotton fabric from Ikea.  In contrast, this kitchen shade was made from a super light-weight sheet material.  I can definitely tell a difference when raising and lowering the shades.  You have to “coach” the lighter-weight material much more to get it to fold and fall correctly.

That being said, I love how this Roman shade turned out!  It looks so much more polished in the “down” position than it did before, don’t you think?

Old Roman down Shade down right

Shade down left

Having a shade that is easy to operate has made life so much easier.  No more climbing on chairs to lift and lower this puppy.  It’s just a click and a pull of the lift strings and we have total control over light and privacy in our kitchen.

Shade up right

What do you think of the new and improved shade?  Do you think you’ll use our original tutorial now that we’ve shared a few more tips on getting that seamless look?

Shade up left

Thanks for reading!

Posted in Crafts, kitchen | Tagged , | Comments Off on Operable Roman Shades: More Tips!

Too much of a good thing?

Guess who just bought 3 more sets of mini blinds to make into Roman shades?  This girl!

Mini Blinds

I’m learning more and more with each set I make.  I just think of it as practice – making all the mistakes so you don’t have to. 🙂  I’ll be back soon to share more tips! Stay tuned!

Posted in Crafts | Tagged , | Comments Off on Too much of a good thing?